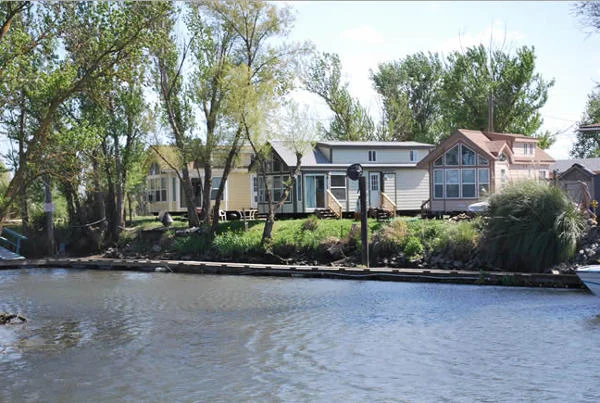
The Reality of Site Preparation
Buying a manufactured home or Accessory Dwelling Unit (ADU) is an exciting milestone. You have picked the floor plan, selected the finishes, and visualized the final result. However, the work that happens before the home arrives is just as critical as the home itself. A common mistake is focusing solely on the structure while overlooking the ground it will sit on. Proper site preparation ensures that your home stays level, your pipes do not freeze, and your electricity remains reliable for decades.
Every piece of land is unique. A flat lot in a suburban neighborhood requires different steps than a sloped, wooded acreage. Understanding the requirements for utilities, foundations, and general site work will help you budget accurately and avoid delays during the installation process.
The First Step: Evaluating Your Land
Before any heavy machinery arrives, you must assess the physical constraints of your property. Soil quality is a primary concern. Soft or sandy soil might require more extensive foundation work compared to hard, packed earth. If the soil is too loose, your home could settle unevenly over time, leading to cracked drywall or doors that do not close properly.
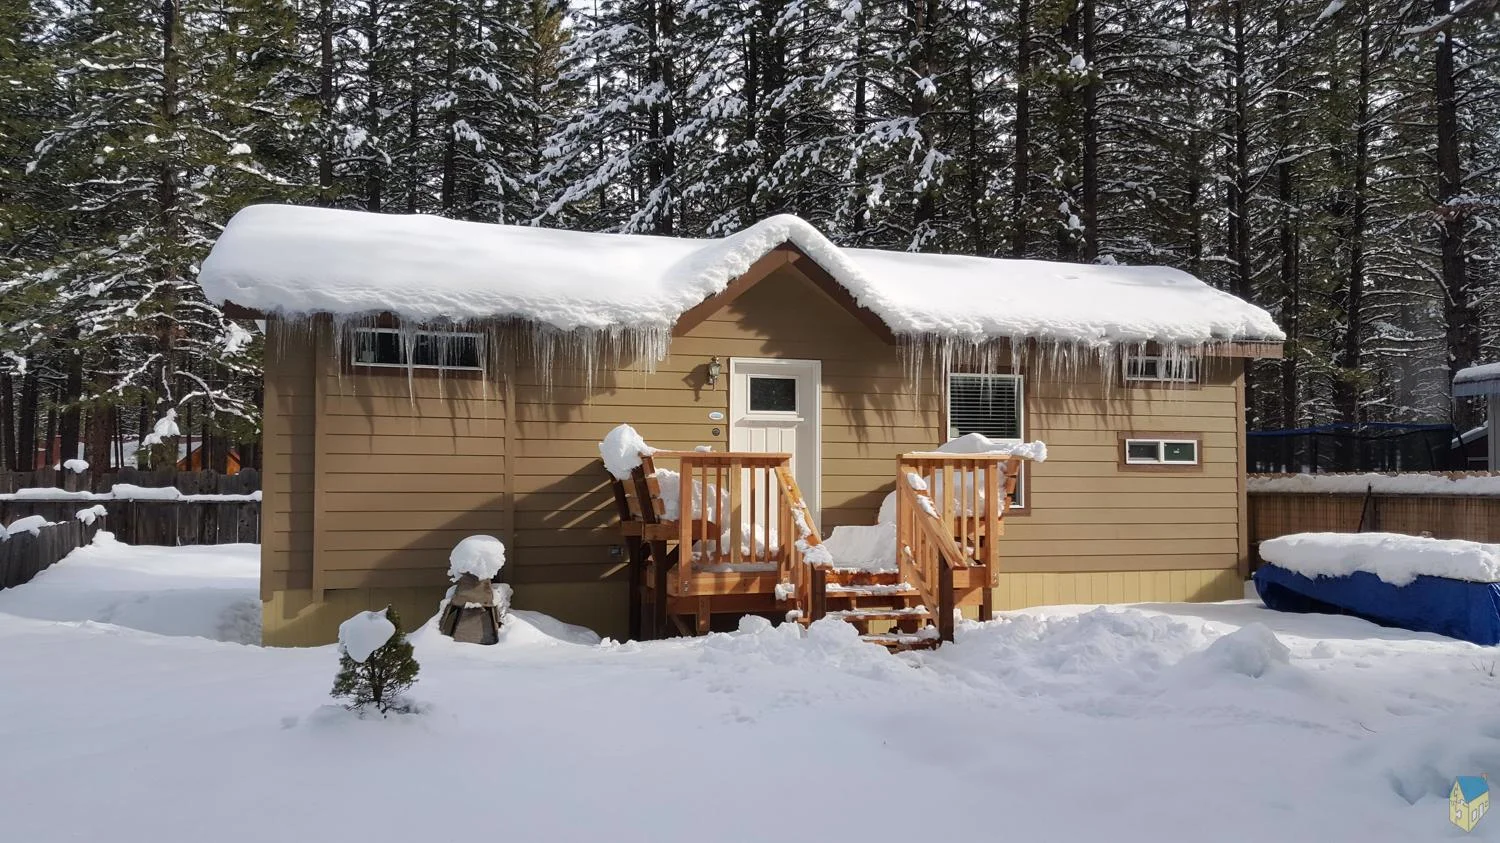
Slope and drainage are equally important. Water should always flow away from your foundation. If your property has a natural incline, you may need to invest in professional grading. This process involves moving dirt to create a flat pad for the home and installing drainage systems like French drains or swales to redirect rainwater. Ignoring drainage can lead to moisture buildup under the unit, which eventually causes mold or wood rot.
Bringing Power and Water to the Site
Utilities are often the most expensive and complex part of site preparation. If you are adding an ADU to an existing property, you might be able to tie into the main house services. However, this is not always as simple as it sounds. Your current electrical panel might not have enough capacity to support a second living space. Many homeowners find they need to upgrade their service to 200 amps to handle the additional load of a new home.
Trenching is the process of digging paths for your utility lines. These trenches must be deep enough to meet local building codes, which usually vary based on the frost line in your area. For water lines, being below the frost line is vital to prevent pipes from bursting in the winter. Sewer or septic connections also require specific gravity-fed slopes. If the land is too flat or the sewer main is higher than your home site, you might need to install a lift pump.
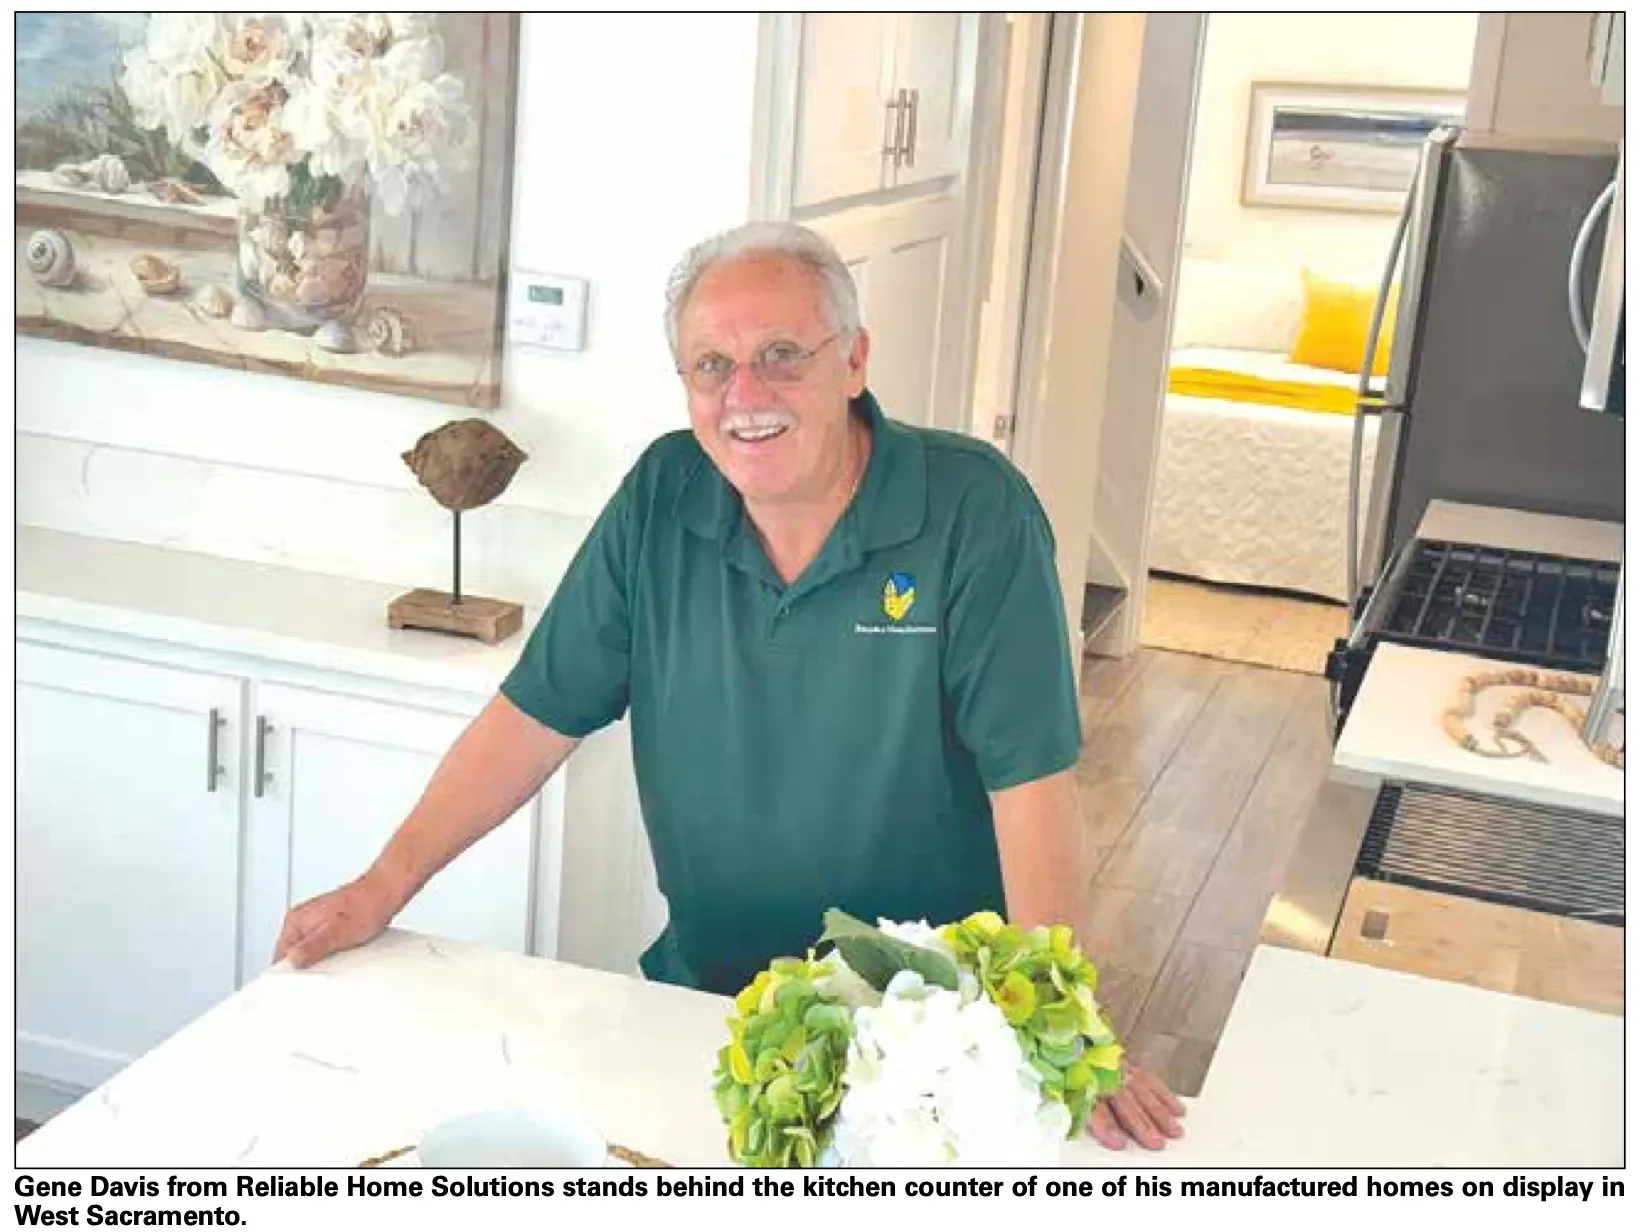
Reliable Home Solutions frequently works with property owners to determine the most efficient routes for these lines. Mapping out the utilities early prevents the need to dig up your yard multiple times or accidentally cut through existing lines.
Choosing the Right Foundation
The foundation is what separates a temporary structure from a permanent home. For manufactured homes and ADUs, there are several common options. The choice often depends on your budget, local building codes, and whether you want the home to be classified as real property for financing purposes.
Concrete Slabs
A concrete slab is a popular choice for many ADUs. It provides a solid, flat surface that supports the entire weight of the home. Slabs are durable and help keep pests out from under the structure. They require professional pouring and must be perfectly level to ensure the home sits correctly.
Pier and Beam Foundations
This method involves concrete piers placed at specific points under the home. It is often more affordable than a full slab and allows for easier access to plumbing and electrical lines under the unit. However, you will need to install skirting around the perimeter to hide the gap and protect the underside from weather and animals.
Runway Foundations
Common in manufactured home parks, this setup uses two parallel concrete strips that align with the home's main support beams. It is a middle-ground option that offers more stability than individual piers while using less concrete than a full slab.
Dealing with Access and Clearance
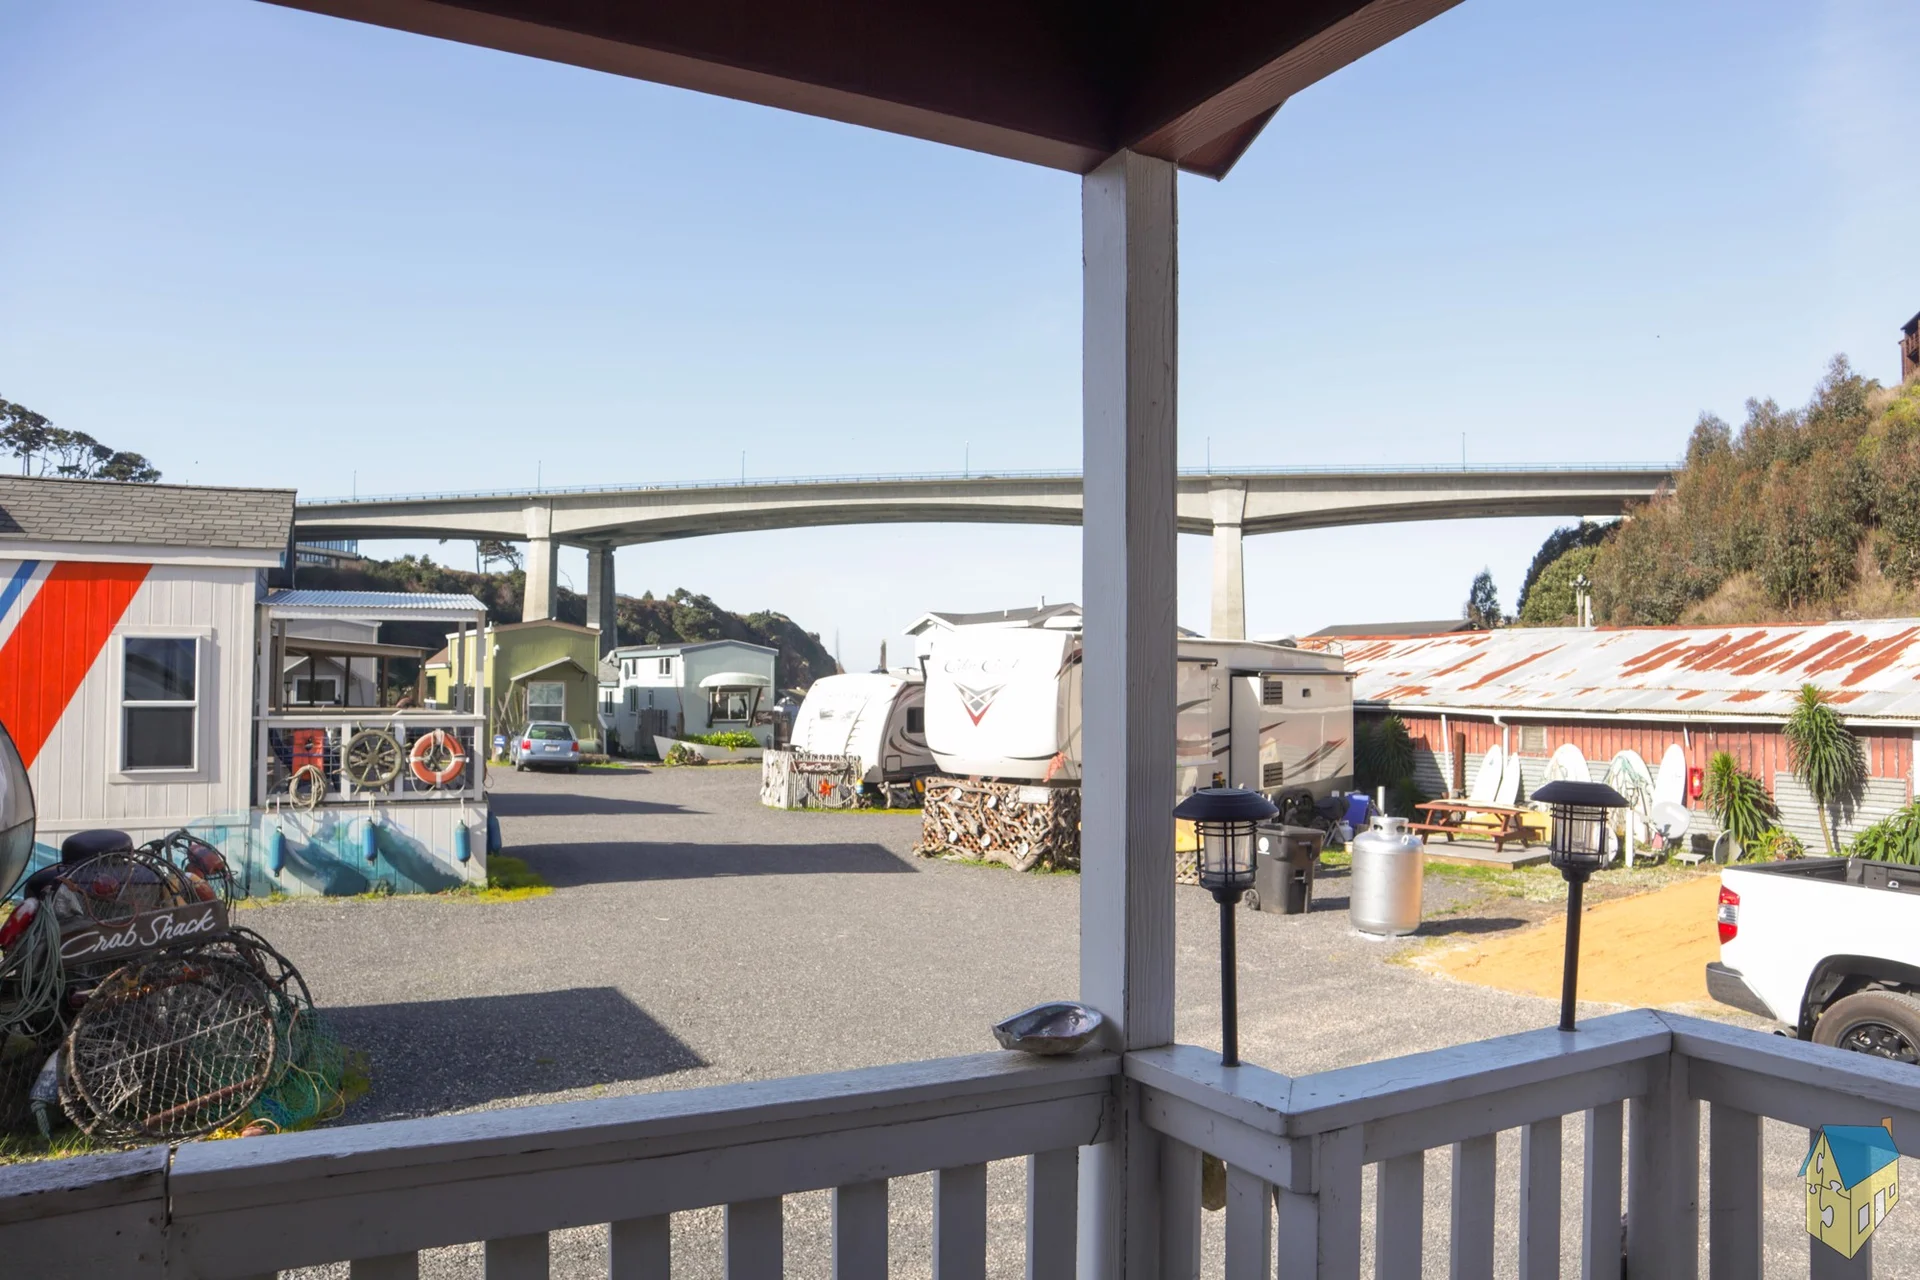
A manufactured home or pre-built ADU arrives on a large truck. This means you need to consider how that truck will reach its destination. Overhanging tree branches, narrow driveways, and low-hanging power lines can all be major obstacles. If the delivery crew cannot get the truck to the site, you might have to pay for a crane, which adds thousands of dollars to your project costs.
Clear a path that is at least 14 to 16 feet wide and 14 feet high. If your property has tight turns, remember that a long trailer needs a much wider radius than a standard vehicle. You should also ensure the ground is dry and packed hard enough to support the weight of the delivery vehicle. A heavy truck can easily get stuck in soft mud, leading to expensive towing fees and property damage.
Permitting and Planning
None of the physical work should start until you have the correct permits in hand. Local municipalities have strict rules regarding setbacks, which is the distance your home must be from property lines or other structures. They also regulate where you can place septic tanks and how you manage stormwater runoff.
Reliable Home Solutions helps navigate these local requirements by providing the technical specifications needed for permit applications. Having a clear plan from the start reduces the risk of a building inspector halting your project halfway through because a utility line was placed too close to a property boundary.
The Final Check
Once the site is graded, the utilities are trenched, and the foundation is set, you are ready for delivery. Take the time to walk the site one last time. Ensure the pad is clear of debris and that the utility hookups are exactly where the floor plan specifies. Precision during this stage makes the actual installation day much faster and less stressful. Preparing your property correctly is an investment in the longevity and safety of your new home.